Home → Windows 10 → Windows Defender → How to permanently disable Windows Defender Antivirus on Windows 10
1.1. How to permanently disable Windows Defender Antivirus on Windows 10
Windows Defender Antivirus is the free malware solution that Microsoft includes on every installation of Windows 10. It's a security software package meant to provide the first line of defense to protect your device and data against malware, including viruses, ransomware, rootkits, spyware, and other types of malicious programs.
Although the antivirus runs automatically, and it can disable itself as you install a third-party security software, the only caveat is that Windows 10 doesn't offer a way to disable it permanently. Perhaps the obvious reason is that Microsoft doesn't want you to use your device without any protection, which is a good thing.
However, there are still some cases where some users may prefer not to use Windows Defender Antivirus, such as on a kiosk device that isn't connected to a network and where peripheral connectivity isn't allowed.
How to disable Windows Defender Antivirus using Group Policy
On Windows 10 Pro, it's possible to use the Group Policy Editor to disable the Windows Defender Antivirus permanently.
- Use the Windows key + R keyboard shortcut to open the Run command.
- Type gpedit.msc and click OK to open the Local Group Policy Editor.
-
Browse the following path:
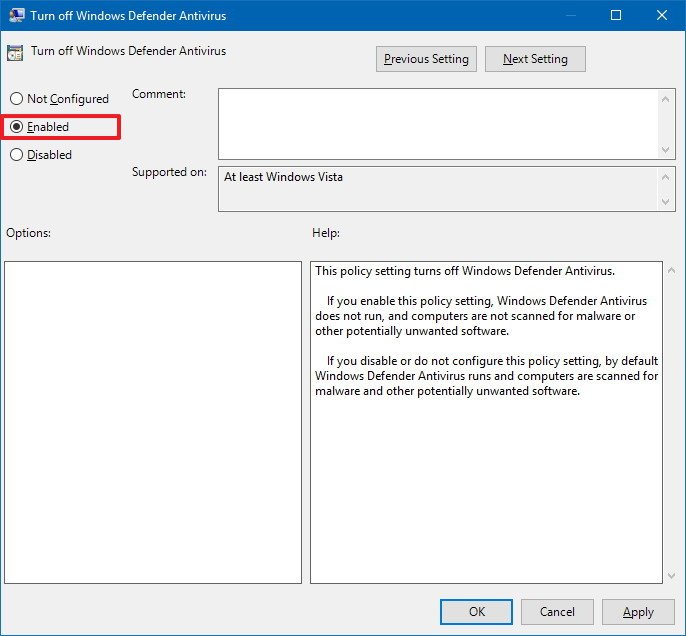
Computer Configuration > Administrative Templates > Windows Components > Windows Defender Antivirus - On the right side, double-click the Turn off Windows Defender Antivirus policy.
- Select the Enabled option.
- Click Apply.
- Click OK.
-
Browse the following path:
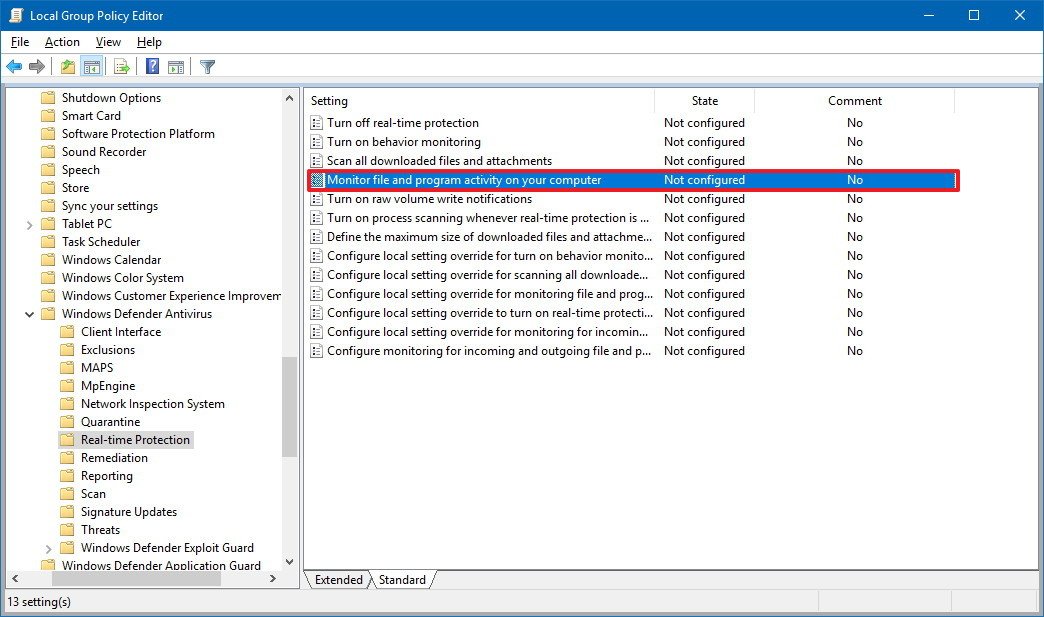
Computer Configuration > Administrative Templates > Windows Components > Windows Defender Antivirus > Real-time Protection -
On the right side, double-click the Turn on behavior monitoring policy.

- Select the Disabled option.
- Click Apply.
-
Click OK.
-
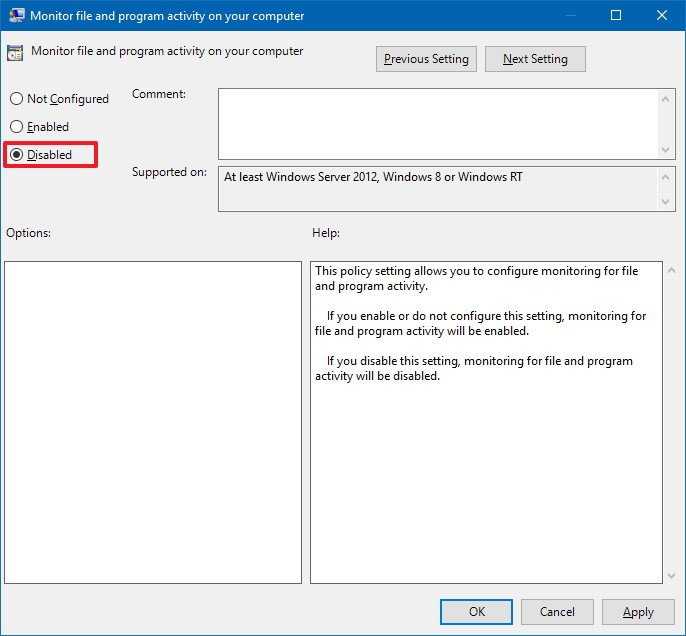
On "Real-time Protection," double-click the Monitor file and program activity on your computer policy.
- Select the Disabled option.
- Click Apply.
-
Click OK.
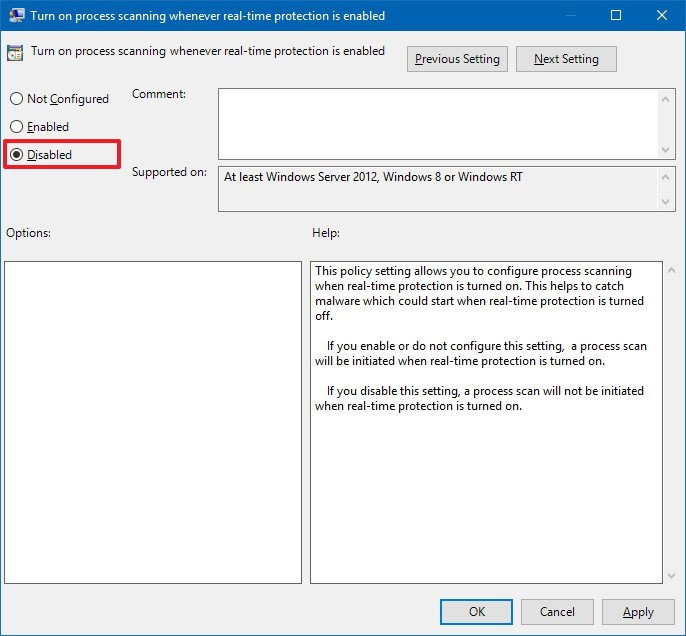
- On "Real-time Protection," double-click the Turn on process scanning whenever real-time protection is enabled policy.
- Select the Disabled option.
- Click Apply.
-
Click OK.
- On "Real-time Protection," double-click the Turn on behavior monitoring policy.
- Select the Disabled option.
- Click Apply.
-
Click OK.

- Restart your computer.
Once you've completed the steps, Windows Defender Antivirus will no longer scan and detect malware on your device, even after restarting your computer.
At any time, you can enable the Windows Defender Antivirus using the same steps, but on step No. 5, 10, and 14, make sure to select the Not Configured option. Then just restart your device to apply the changes.